Phone: (+86) 13420084030 Email: info@qg-metal.com
5 Common Tube Flaring Problems and How to Solve Them
Tube flaring is a crucial process in many industries, including automotive, HVAC, plumbing, and manufacturing. It involves widening the end of a tube to create a secure, leak-proof connection. While the process may seem straightforward, many people encounter common issues that can compromise the integrity of the flare and lead to leaks, equipment failure, or costly repairs.
In this article, we will discuss five common tube flaring problems and provide practical solutions to help you achieve perfect, high-quality flares every time.
1. Cracked or Split Flares
Problem:
One of the most frequent issues when flaring tubes is cracking or splitting at the flared end. This occurs when the material becomes too brittle, or excessive pressure is applied during the flaring process.
Causes:
- Using the wrong type of tubing (e.g., tubing that is too hard or brittle).
- Over-tightening the flare tool, leading to excessive stress on the material.
- Lack of proper lubrication, causing friction that weakens the metal.
- Incorrect tube preparation, such as not deburring the edges properly.
Solution:
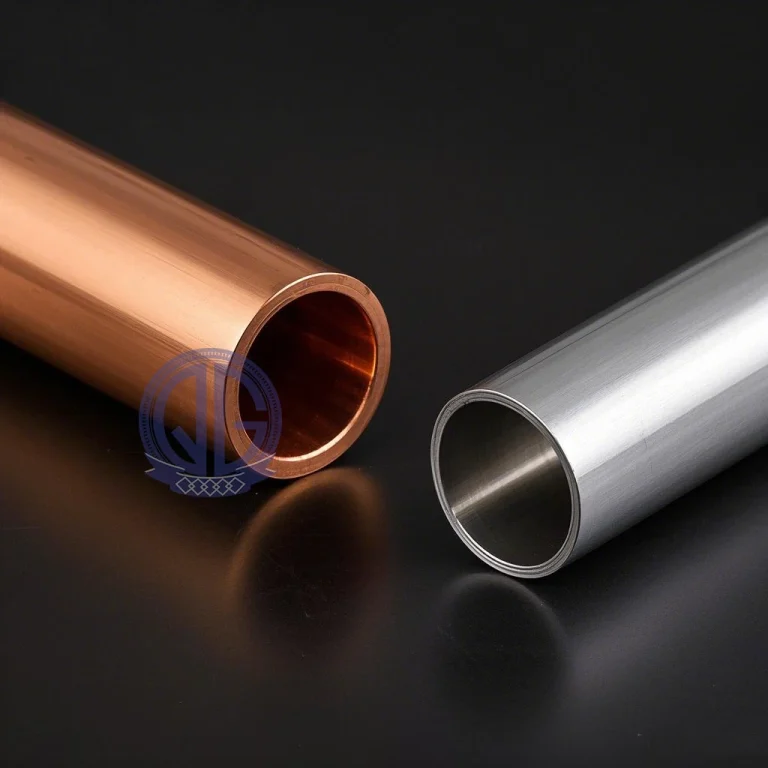
- Choose the Right Tubing Material: Use soft, malleable materials such as annealed copper, aluminum, or soft steel for better flare results. If using stainless steel, ensure it is suitable for flaring.
- Use Proper Lubrication: Apply a small amount of oil or lubricant to the flare tool and tube end to reduce friction and stress.
- Deburr the Tube Correctly: After cutting the tube, use a deburring tool to remove sharp edges, which can lead to cracks when flaring.
- Avoid Over-Tightening: Use steady, controlled pressure rather than excessive force when tightening the flaring tool.
2. Uneven or Off-Center Flares
Problem:
An uneven or off-center flare can lead to poor sealing, resulting in leaks and unreliable connections. This issue is often caused by improper tube positioning in the flaring tool.
Causes:
- The tubing is not properly aligned in the flaring tool.
- The flaring tool is of poor quality or worn out.
- The tube is not cut evenly, leading to an asymmetrical flare.
- The clamp on the flaring tool is not tight enough, causing the tube to shift during flaring.
Solution:
- Ensure Proper Tube Alignment: Before flaring, double-check that the tube is seated evenly and centered in the flaring tool.
- Use a High-Quality Flaring Tool: Invest in a precision flaring tool that holds the tube securely in place to create consistent flares.
- Cut the Tube Straight: Use a high-quality tube cutter instead of a saw to ensure a clean, even cut. Always deburr the edges to remove imperfections.
- Tighten the Clamp Securely: Ensure the tube is held firmly in place before applying force to the flaring tool. This prevents shifting that could cause an uneven flare.
3. Over-Sized or Under-Sized Flares
Problem:
A flare that is too large or too small will not fit properly into the fitting, leading to connection failures and potential leaks.
Causes:
- Incorrect flare size for the fitting being used.
- Using the wrong type of flare (e.g., single flare instead of double flare for high-pressure applications).
- Excessive or insufficient pressure applied during flaring.
- Using a poorly calibrated or damaged flaring tool.
Solution:
- Use the Correct Flare Angle: Most applications require either a 37-degree or 45-degree flare. Check the specifications for your project to ensure the correct angle is used.
- Match the Flare to the Fitting: Make sure the flare size matches the fitting you are using. A mismatch can cause leaks or an improper seal.
- Apply the Right Amount of Pressure: Avoid using excessive force, which can cause the flare to expand too much, or too little pressure, which results in an under-sized flare.
- Check Your Flaring Tool: Ensure your flaring tool is in good condition and properly calibrated before use. Worn-out tools can produce inconsistent flare sizes.
4. Leaking Fittings After Flaring
Problem:
Even if the flare looks correct, the connection may still leak after installation. This can be frustrating and often requires reworking the flare, leading to wasted time and materials.
Causes:
- The flare is not seated properly in the fitting.
- The flare has minor surface imperfections, such as scratches or uneven edges.
- The fitting is not tightened properly, either too loose or overtightened.
- The tube material is incompatible with the fitting, leading to improper sealing.
Solution:
- Inspect the Flare Surface: Before installation, check for cracks, rough edges, or uneven surfaces that could prevent a proper seal. If necessary, re-flare the tube.
- Ensure Proper Seating: Make sure the flare sits flush against the fitting before tightening.
- Tighten the Fitting Correctly: Use a torque wrench if possible to achieve the correct tightness without over-tightening, which can deform the flare.
- Use a Flare Sealant (if applicable): In some cases, a small amount of thread sealant can help improve the seal, but always check compatibility with the materials used.
5. Tube Wall Thinning or Weakening
Problem:
If too much material is removed during the flaring process, the tube walls may become too thin, making the flare weak and more susceptible to failure under pressure.
Causes:
- Excessive force applied during flaring.
- Using low-quality tubing that is too thin to begin with.
- Repeated flaring of the same tube end, causing material fatigue.
- Incorrectly sized flaring tool die, leading to excessive stretching of the tube material.
Solution:
- Use the Right Tubing Thickness: Check manufacturer recommendations to ensure the tubing is suitable for flaring.
- Apply Moderate Pressure: Avoid overworking the metal by applying steady, controlled pressure during flaring.
- Use a High-Quality Flaring Tool: A properly designed tool will distribute force evenly, reducing the risk of excessive thinning.
- Avoid Over-Flare Attempts: If a flare is poorly made, it’s better to cut a new section of tubing rather than attempting to re-flare the same end.
Conclusion
Flaring tubes is a vital skill in many industries, but it comes with challenges that can impact the integrity of the connections. By understanding the most common flaring problems—such as cracking, uneven flares, incorrect sizing, leaks, and tube wall thinning—you can take proactive steps to avoid costly mistakes.
Using the right materials, high-quality tools, and proper techniques will help you create strong, reliable, and leak-free flares every time. Whether you’re working on an HVAC system, automotive brake lines, or plumbing installations, mastering these troubleshooting tips will save you time and ensure professional results.